Kobishiya Chube In Kyoto - Make Your Own Mini Japanese Lantern!

In Kyoto, Kobishya Chube offers a workshop where you can make your own traditional Japanese lantern. Participants will learn from artisan craftsman and make a Kyoto-style lantern for themselves to take home.
Visiting Japanese Lantern Artisans
Kyoto, Japan's former ancient capital, is where age-old traditions merge and coexist with modern-day culture.
Kyoto is also known as a town with a population of craftspeople engaged in various traditional crafts, including textiles and container-making.
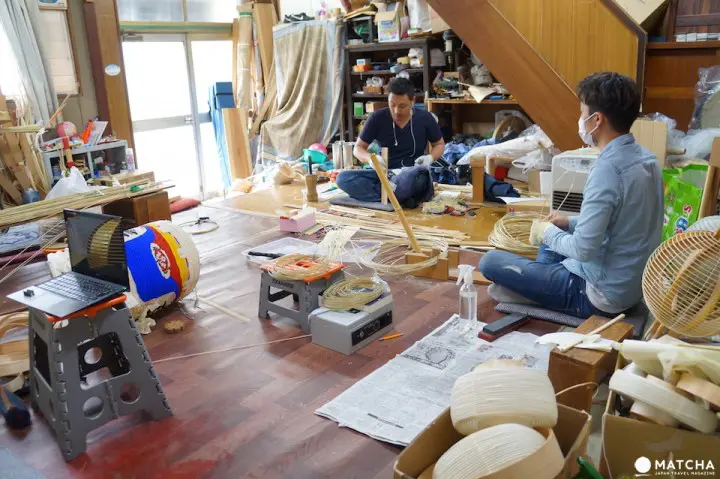
Today we'll introduce Kobishiya Chube, a lantern making brand based in Kyoto.
Specializing in Kyo-chochin, a unique Kyoto-style lantern that has flourished since the Edo period, this brand uses these traditional building techniques to create new products and spaces.
The Kobishiya Chube brand originated in Kojima Shoten, a Kyo-chochin shop in Kyoto. The brand's characteristic feature is that the craftspeople themselves try to expand the possibilities of Kyo-chochin through spreading information about Kyo-kochin both inside and outside Japan.
In today's article, we introduce a mini-lantern (chibi-maru)-making workshop that visitors can participate in, put on by the above-mentioned Kobishiya Chube.
What is a Kyoto-Style Lantern?
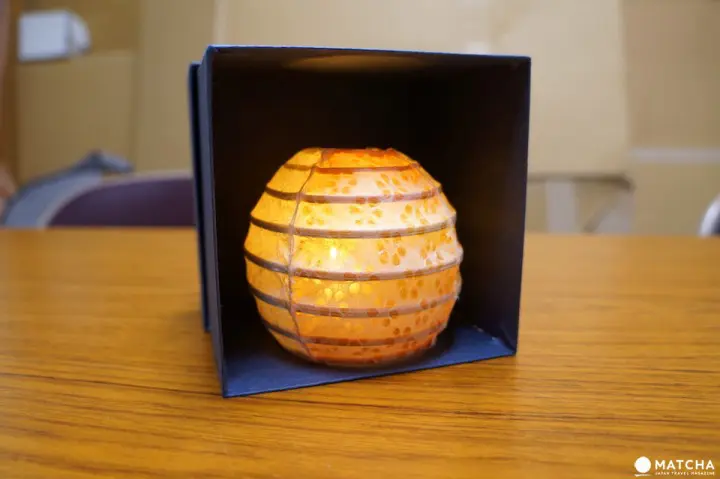
This is the chibi-maru (small ball) lantern that our writer had the privilege of making. You will be able to construct a lantern small enough to fit in the palm of your hand.
Kobishiya Chube is very particular about using jibari-shiki, a special lantern building method unique to Kyoto.
Jibari-shiki is a process in which single strips of bamboo are fashioned into individual rings one by one, and then bound in place with string to form a frame. Pieces of Japanese washi paper are then attached with glue over this frame.
This process is carried out completely by hand, without the use of any machines.
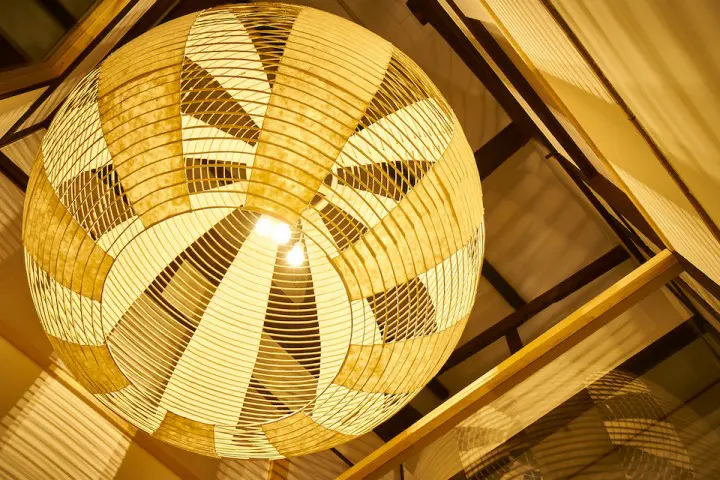
Picture courtesy of Kojima Shoten
Kojima Shoten's Kyo-chochin, which use special materials gathered from all parts of Japan, take more time to make than a regular lantern and have an especially sturdy appearance.
The building process is fundamentally the same whether the lanterns are small or large, you can experience authentic lantern building through making the chibi-maru lanterns.
There are English-speaking staff members, so visitors to Japan can also have an enjoyable and worry-free lantern making experience.
Next we will introduce the actual lantern making process, broken down into steps! The time required for this hands-on workshop is around one hour to ninety minutes.
Make a Chibi-Maru Lantern with a Craftsperson!
Step 1 - Choose Your Paper
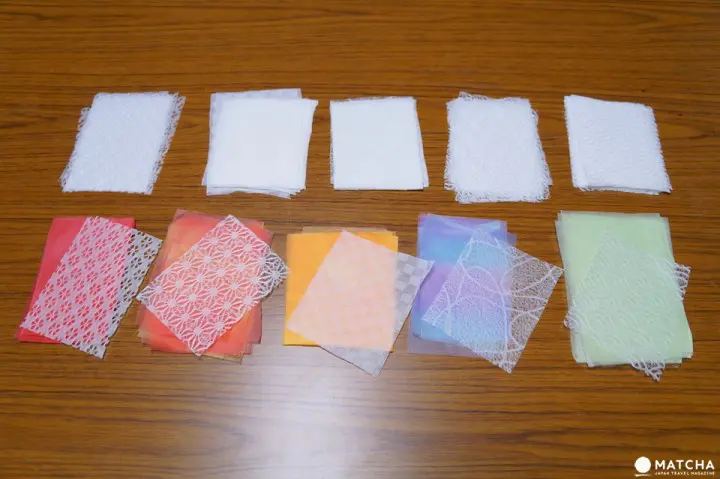
The chibi-maru lantern is made up of four different surfaces (sides). Each surface will be covered with a combination of colored Japanese washi paper and patterned washi paper (in total eight pieces of paper are required).
Workshop participants will be asked to select their favorite combination of colored washi and patterned washi that appeals (see photo above).
The washi paper used in the workshop is produced in Kochi prefecture and is called Tengucho. When you hold your hand under the paper you'll see that it's a semi-transparent, thin washi paper that's also durable and hard to tear.
Step 2 - Stick On the Paper

Tap-tap-tap-tap... With a rhythmic motion, glue is applied to the bamboo frame using a small brush. The key is to thoroughly spread the glue to all parts of the frame.

Next, overlap the colored washi paper and the patterned washi paper, and then dampen them with a sprayer.
Place the moistened paper over the top part of the frame and then work your way down. As you are placing the paper on the frame, smooth it out so that no wrinkles form as you flatten it out.
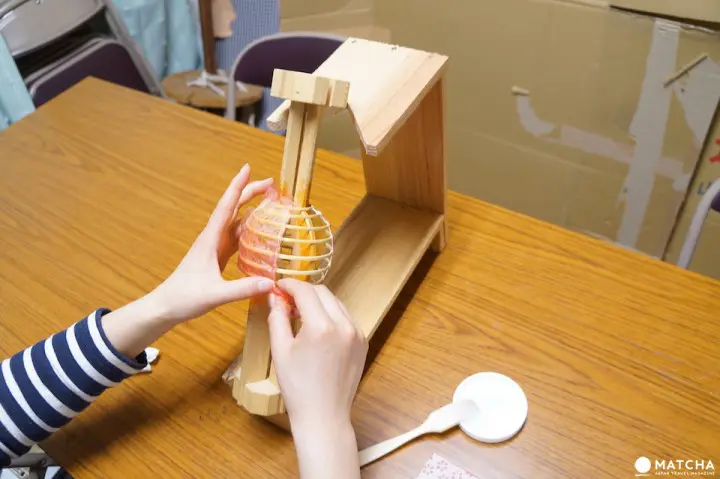
Using your fingers, you can tear off any excess paper on the left and right sides. Now one surface of the lantern is complete.
Next, in the same manner, place the washi paper on the opposite side of the frame. Continue until you've finished covering all four sides of the lantern.
Step 3 - Use a Dryer to Complete Your Lantern!
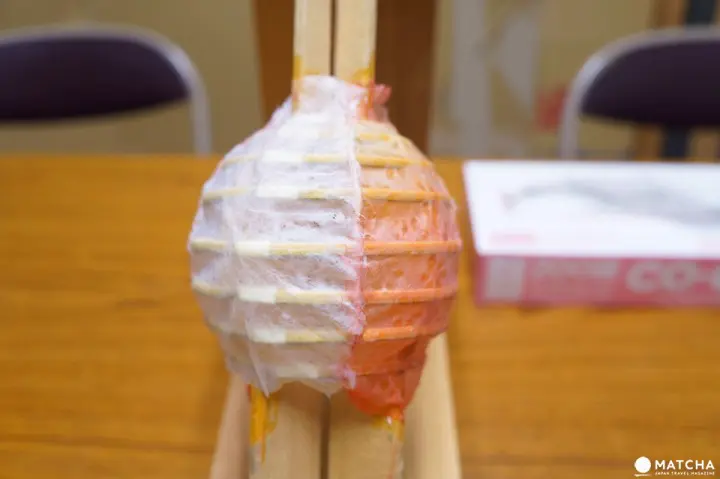
After all four sides of the frame have been covered with the washi paper, use a dryer to remove all remaining moisture, and now you're all done!
Lastly, we illuminated the inside of the lantern with a light.
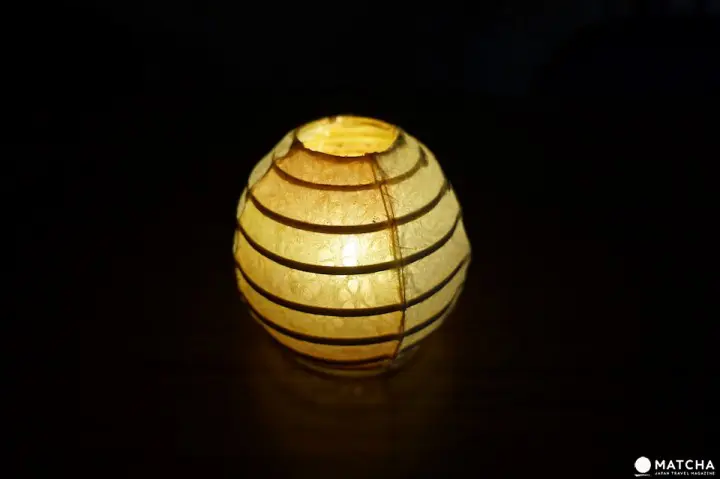
The Kyo-chochin's unique warm color is calming on the eyes, isn't it?
At first, as our writer was cautiously putting the paper on the lantern frame, they were worried about if they could do it properly without ripping the paper. But after putting on the fourth and final set of washi paper, they felt their fingertips had become somewhat used to the procedure.
There is a lot of detailed work to do and it was quite a challenging project. However, the moment the light is on inside the chibi-maru lantern, you will forget all about the time involved. We thought it was such a moving experience that we found ourselves simply gazing in fascination at the lantern.

Kyo-chochin come in all sizes, small to large, and each involve a stepwise process by hand to make. After our writer went through this process themselves, they felt a new appreciation for the importance of the artisan skills which have been faithfully passed down and maintained.
Be sure to stop in and make your own personal version of the chibi-maru lantern.
This chibi-maru lantern making workshop costs 3,500 yen. Individual reservations are possible, and participants will receive an LED light for the lantern and special box to take your handiwork home with you.
Access from Tofukuji Station
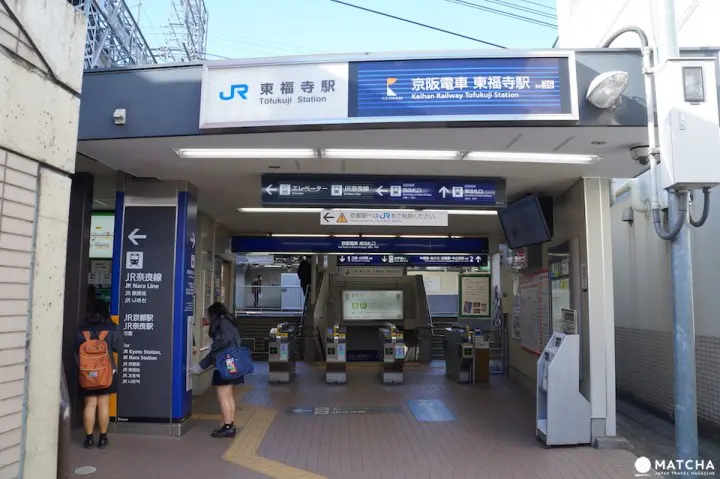
It's only ten minutes by foot from Tofukuji Station (JR Line, Keihan Line) to Kojima Shoten, where this lantern workshop is held.
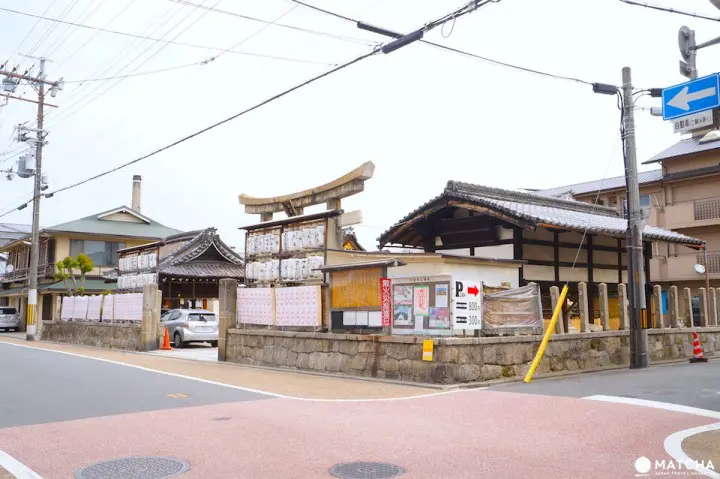
After exiting from the ticket gates, turn left on the road directly in front of you. When you reach the corner where Takio Shrine (pictured above) is located, turn right and go straight ahead. Situated alongside this main road is Imagumano shotengai (pictured below).
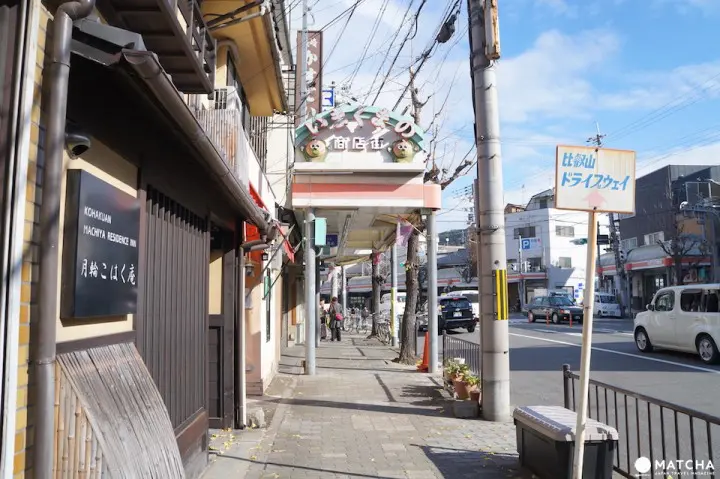
If you keep walking along the Imagumano shopping arcade, you'll see a sign that says Hirabayashi Clinic (平林病院 written in Japanese, see below). Please turn left here.

Walk down this back alley, and Kojima Shoten is located at the very end of the alley.
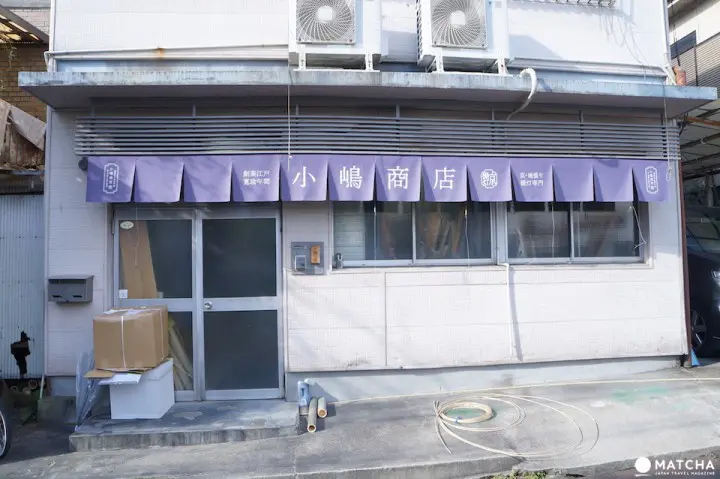
Getting to Kojima Shoten is slightly complicated, but Imagumano shopping street is filled with many eating and drinking establishments and wagashi (Japanese sweets) shops. We suggest enjoying a stroll around the neighborhood as well while you're in the area.
Read also
In cooperation with: Kojima Shoten
Kyoto / Kameoka 「遠くて近い」を探りながら、肌で感じる面白さを綴っていきたいです。







![[Recommended accommodation in Ureshino Onsen] 1.5 hours from Hakata Station! Enjoy Japanese tea and skin-beautifying hot springs at Saga Ureshino Onsen URESHINO YADOYA](https://resources.matcha-jp.com/resize/720x2000/2025/06/14-236549.webp)


![[Kagoshima] Overcoming 12 Years of Hardship: Walking through Minamisatsuma City, the sacred land where the monk Ganjin landed](https://resources.matcha-jp.com/resize/720x2000/2026/02/21-259481.webp)
